

How to cut furniture edge banding neatly?
Aug 06, 2026
Leave a message
Hey there, fellow furniture enthusiasts! As a supplier of Furniture Edge Banding, I've seen firsthand the importance of getting that perfect, neat edge on your furniture pieces. Whether you're a professional furniture maker or a DIY enthusiast, cutting furniture edge banding neatly can make a world of difference in the final look of your project. In this blog, I'll share some tips and tricks on how to achieve that crisp, clean edge every time.
Understanding Your Edge Banding
Before we dive into the cutting process, it's important to understand the different types of edge banding available. We offer a variety of options, including Edge Band for Furniture, Premium Edge Banding, and Wood Veneer with Matching Edge Banding. Each type has its own unique characteristics and requires a slightly different approach when it comes to cutting.
- PVC Edge Banding: This is one of the most common types of edge banding. It's affordable, easy to work with, and comes in a wide range of colors and finishes. PVC edge banding is great for both indoor and outdoor furniture projects.
- ABS Edge Banding: ABS edge banding is more durable and heat-resistant than PVC. It's a popular choice for high-traffic areas and commercial furniture.
- Wood Veneer Edge Banding: Wood veneer edge banding gives your furniture a natural, high-end look. It's made from real wood and can be stained or finished to match the rest of your piece.
Tools You'll Need
To cut furniture edge banding neatly, you'll need the right tools. Here's a list of essentials:
- Utility Knife: A sharp utility knife is a must-have for cutting edge banding. Make sure to use a fresh blade for clean, precise cuts.
- Straight Edge: A straight edge will help you make straight, even cuts. You can use a ruler, a metal straight edge, or a specialized edge banding cutting tool.
- Scissors: Scissors are useful for cutting small pieces of edge banding or for making curved cuts.
- Heat Gun: If you're using a heat-activated edge banding, you'll need a heat gun to apply the adhesive. Make sure to follow the manufacturer's instructions for proper use.
Measuring and Cutting
Once you have your tools ready, it's time to measure and cut your edge banding. Here's how to do it:
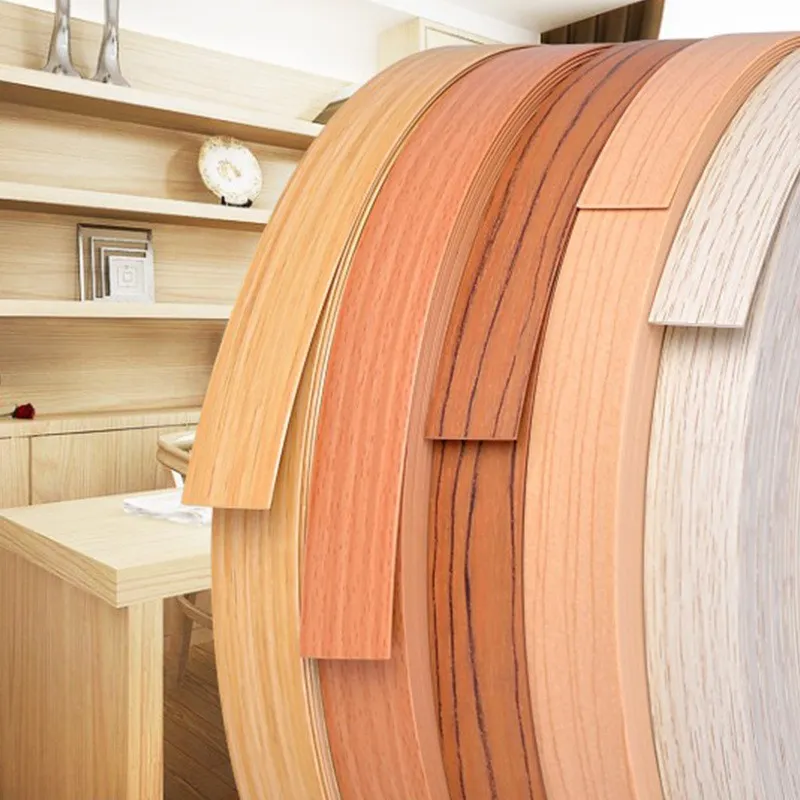

- Measure the Edge: Use a tape measure to measure the length of the edge you want to cover. Add a little extra length (about 1-2 inches) to account for any mistakes or trimming.
- Mark the Cut: Use a pencil or a marker to mark the cutting line on the edge banding. Make sure the line is straight and even.
- Cut the Edge Banding: Place the edge banding on a flat surface and use your straight edge to guide your utility knife. Apply firm pressure and make a single, smooth cut along the marked line. If you're cutting a large piece of edge banding, you may need to make multiple cuts.
- Trim the Edges: After cutting the edge banding, use your utility knife or scissors to trim any rough edges or excess material. Make sure the edges are smooth and even.
Applying the Edge Banding
Once you've cut your edge banding to the correct length, it's time to apply it to your furniture. Here's how to do it:
- Clean the Edge: Use a clean, dry cloth to wipe the edge of your furniture to remove any dust or debris. This will help the edge banding adhere better.
- Apply the Adhesive: If you're using a heat-activated edge banding, use a heat gun to apply the adhesive. Hold the heat gun about 2-3 inches away from the edge banding and move it back and forth until the adhesive is hot and sticky. If you're using a pressure-sensitive edge banding, simply peel off the backing and apply the edge banding to the edge of your furniture.
- Press the Edge Banding: Use a roller or a flat tool to press the edge banding firmly onto the edge of your furniture. Make sure the edge banding is flush with the edge of the furniture and there are no air bubbles or gaps.
- Trim the Excess: Once the edge banding is applied, use your utility knife or scissors to trim any excess material. Make sure the edges are smooth and even.
Tips and Tricks
Here are some additional tips and tricks to help you cut furniture edge banding neatly:
- Use a Sharp Blade: A sharp blade will make clean, precise cuts and prevent the edge banding from fraying or tearing.
- Cut on a Flat Surface: Make sure to cut your edge banding on a flat, stable surface to prevent it from moving or slipping.
- Take Your Time: Cutting furniture edge banding neatly takes time and patience. Don't rush the process and make sure to double-check your measurements and cuts.
- Practice Makes Perfect: If you're new to cutting edge banding, practice on a scrap piece of material before working on your actual project. This will help you get the hang of the process and improve your technique.
Conclusion
Cutting furniture edge banding neatly is an important step in creating a professional-looking piece of furniture. By following these tips and tricks, you can achieve a crisp, clean edge every time. If you have any questions or need help choosing the right edge banding for your project, feel free to contact us. We're here to help you create the perfect piece of furniture.
References
- Furniture Edge Banding Manufacturer's Guides
- DIY Furniture Making Books